Did you know the J in Jupyter refers to Julia? It is easy to miss that Jupyter supports loads of different languages since Python is so dominant. This is unsurprising since Python just works out of the box, while getting other languages running requires some tinkering. In this post we are going to look into setting up Jupyter together with a Julia kernel, and package everything into a Docker container. As an extra, we are going to do this with GPU support.
Installing Jupyter
The first thing we are going to do is to install Jupyter and Julia. However, we would like to avoid polluting the global namespace so let’s first install Conda. Since we don’t need all bells and whistles of a full installation, we are going to go for the miniconda distribution.
MINICONDA_URL=https://repo.anaconda.com/miniconda/Miniconda3-latest-Linux-x86_64.sh
curl -LO MINICONDA_URL && \
	bash Miniconda3-latest-Linux-x86_64.sh -p /miniconda -b && \
	rm Miniconda3-latest-Linux-x86_64.sh
PATH=/miniconda/bin:$PATH
With Conda installed, we can effortlessly install Jupyter.
conda update -y conda && conda install -y -c conda-forge jupyterlab
Julia is available through several packet managers, but the recommended way of installation is downloading the binaries directly from the Julia website. So, installation comprises downloading the binary, unzipping it and adding it to our path.
JULIA_URL=https://julialang-s3.julialang.org/bin/linux/x64/1.4
JULIA_LOC=~/Documents
JULIA_VER=1.4.1
cd $JULIA_LOC
curl -LO $JULIA_URL/julia-$JULIA_VER-linux-x86_64.tar.gz && \
	tar -xf julia-$JULIA_VER-linux-x86_64.tar.gz && \
	rm -rf julia-$JULIA_VER-linux-x86_64.tar.gz && \
	sudo ln -s $JULIA_LOC/julia-$JULIA_VER/bin/julia /usr/local/bin/julia
julia -e 'println("Hello from Julia-$(VERSION)!");'
Hello from Julia-1.4.1!
Installing Julia Jupyter kernel
If you run jupyter lab at this point you will not find a Julia
kernel available. For one to appear we need to install the IJulia package.
  julia -e 'using Pkg; \
	  Pkg.add(["IJulia"]); \
	  Pkg.build("IJulia")'
Building a Julia package after installing it is not needed in general, but in
this case we have to do it for jupyter to find IJulia.
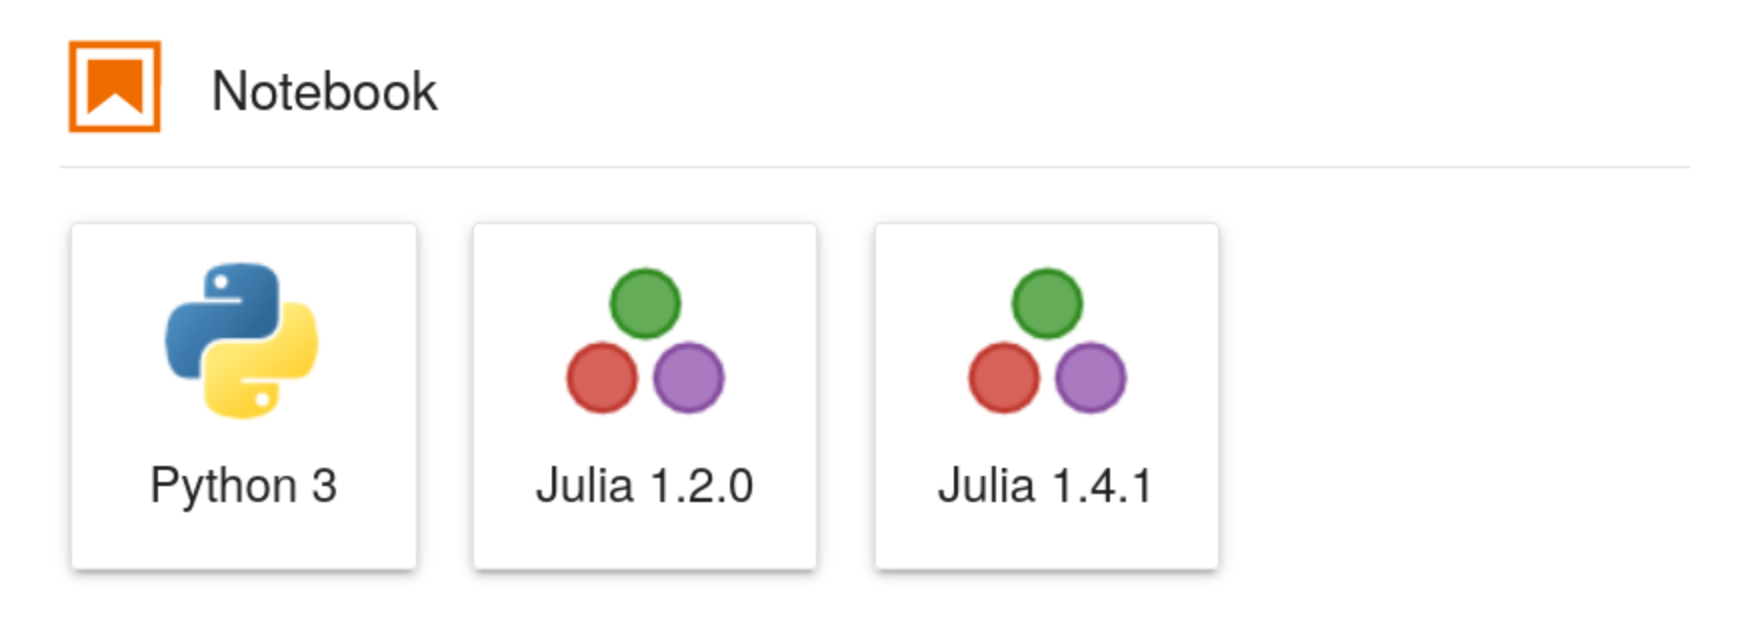
Finally, we can now run jupyter lab and be greeted with a new icon
in the Launcher tab. Success!
Dockerizing and adding GPU support
If you are like me, you probably want GPU support so you can train deep learning models. I have personally found the Flux library absolutely delightful and would like to use it in this environment. Using Nvidia GPUs in Flux (or any other machine learning library for that matter) requires installing the correct Nvidia drivers, the CUDA Toolkit and cuDNN. This can take quite some time and be a bit tricky to get right. However, using Docker we can derive our image from one that contains the CUDA runtime, sparing us the trouble!
For Docker to play nicely with GPUs we have to install nvidia container toolkit. Once that is done we can derive any CUDA environment we need through Docker. However, we still need to install the Nvidia drivers to make the dockerized runtime able to talk to the physical GPU. So, before proceeding we need to
- Install Docker
- Install Nvidia container toolkit
- Install Nvidia drivers (check your compatibility here)
Should you not care for deep learning or do not have a GPU you can simply install Docker.
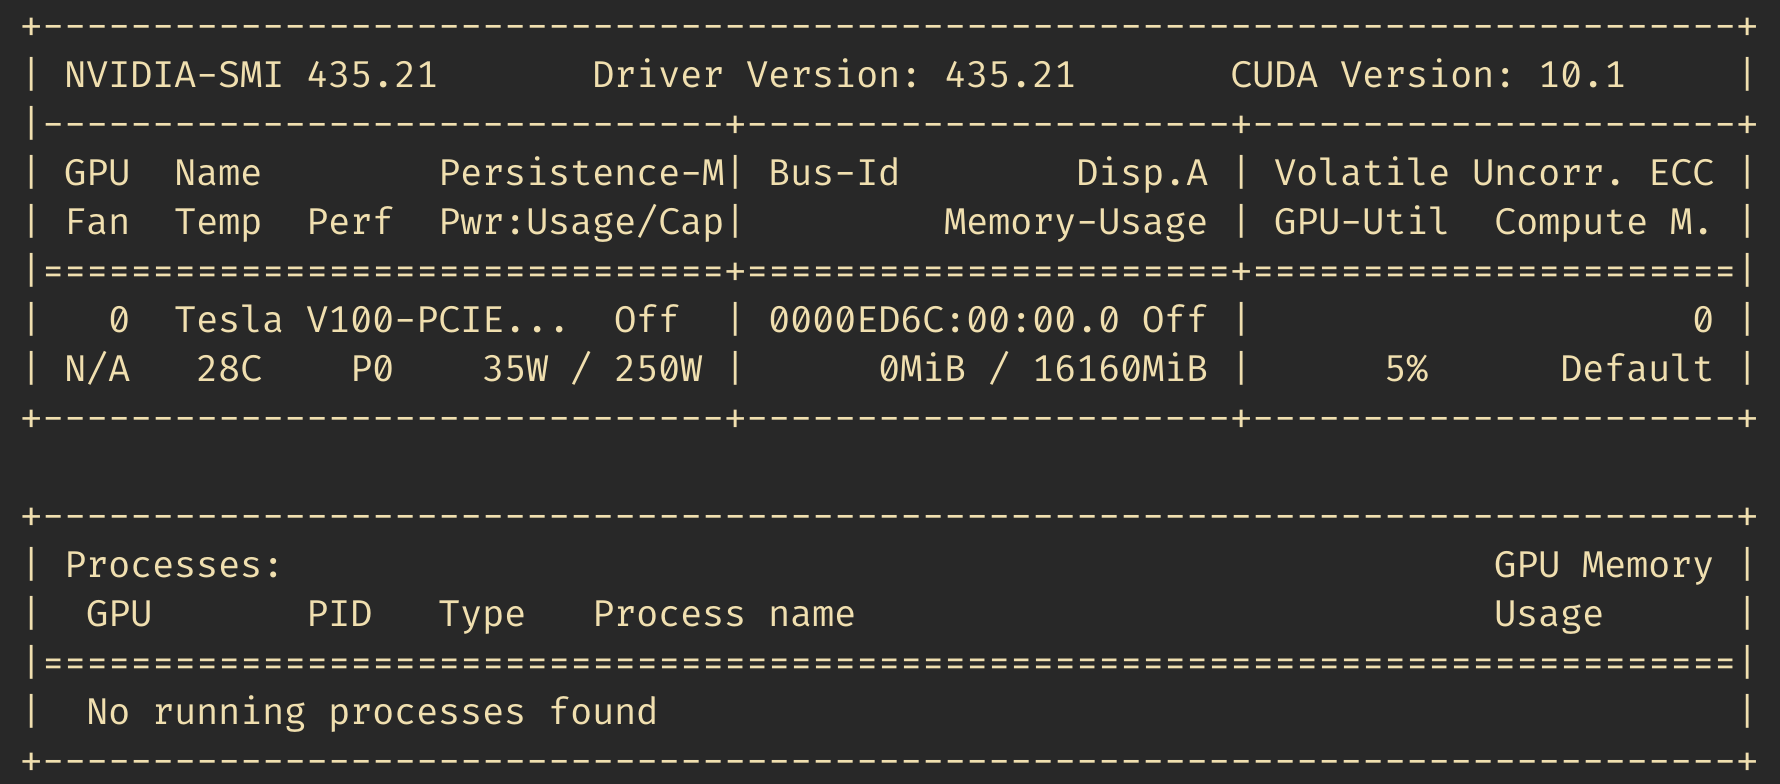
Once everything is installed, make sure running nvidia-smi works as
intended. It should display some output looking like
Putting everything together
That’s it! We’re now ready to put all the pieces in this post together inside a Dockerfile.
FROM nvidia/cuda:10.1-cudnn7-runtime-ubuntu18.04
ARG USER_ID=3003
ARG JULIA_VER=1.4.0
ARG JULIA_URL=https://julialang-s3.julialang.org/bin/linux/x64/1.4
ARG JUPYTER_PW=pw

EXPOSE 8888
USER root
WORKDIR /

# ==== Install system dependencies ====

RUN apt-get update && apt-get install -y \
	curl tar tmux

# ========== Install Jupyter ==========

# Install Miniconda
RUN curl -LO https://repo.anaconda.com/miniconda/Miniconda3-latest-Linux-x86_64.sh && \
	bash Miniconda3-latest-Linux-x86_64.sh -p /miniconda -b && \
	rm Miniconda3-latest-Linux-x86_64.sh
ENV PATH=/miniconda/bin:${PATH}

# Install Jupyter
RUN conda update -y conda && \
	conda install -y -c conda-forge jupyterlab
RUN mkdir /.local && \
	chown ${USER_ID} /.local

# ========== Install Julia ==========

RUN curl -LO ${JULIA_URL}/julia-${JULIA_VER}-linux-x86_64.tar.gz && \
	tar -xf julia-${JULIA_VER}-linux-x86_64.tar.gz && \
	rm -rf julia-${JULIA_VER}-linux-x86_64.tar.gz && \
	ln -s /julia-${JULIA_VER}/bin/julia /usr/local/bin/julia
RUN mkdir /.julia && chown ${USER_ID} /.julia

# ========== Add application user ==========

RUN useradd --no-log-init --system --uid ${USER_ID} \
	--create-home --shell /bin/bash julia-user

USER ${USER_NAME}

# ========== Install IJulia as application user ==========

RUN julia -e "using Pkg; Pkg.add(\"IJulia\"); Pkg.build(\"IJulia\");"
And with that we have a GPU-ready Julia environment with Jupyter! I have uploaded the image to Docker Hub should you want to use it. You can start the notebook server by running
  docker run --gpus all -p 8888:8888 /sebastiancallh/julia-cuda-jupyter:1.4.0 jupyter lab
	 --ip=0.0.0.0 \
	 --no-browser \
	 --NotebookApp.token='mypassword'
One final note: You will probably want to mount a directory to persist your
work. Note that to be able to write to a mounted directory and make
persistent changes from
inside the container you will have to grant permissions to the docker
user, or simply run chmod 777 . in your project directory.
I hope you found this post useful! Julia is a lovely language and I
encourage you to check it out. I want to thank
/u/SymmetricBrightTiger on Reddit who not only has a great
username, but also helped with getting the technical details right
for this post.
Happy coding!